
How to Install Drupal on Ubuntu
-

- by Mcs June 27, 2025
Drupal is a free and open-source content management framework (CMF) and content management system (CMS) written in PHP. It is known for its flexibility, scalability, and customization capabilities, making it a popular choice for building complex websites and applications. Drupal offers a wide range of features, including user management, content management, and taxonomy, as well as a large community of developers and a vast array of modules and themes. When installed on Ubuntu, Drupal can take advantage of Ubuntu’s reliability, security, and scalability, making it an excellent choice for building robust and high-performance websites.
The benefits of using Drupal on Ubuntu include improved performance, enhanced security, and simplified maintenance. Ubuntu’s package manager, apt, makes it easy to install and manage dependencies, while its community support ensures that any issues are quickly resolved. In this article, we will provide a step-by-step guide on how to install Drupal on Ubuntu. We will cover the prerequisites, installing the Apache web server, configuring the firewall, installing PHP and database dependencies, creating a Drupal database and user, and completing the Drupal installation.
By following this guide, you will be able to successfully install Drupal Ubuntu 22.04 on your system server.
Installing Drupal on Ubuntu: A Step-by-Step Guide
Preparing Your Ubuntu Server for Drupal Installation
Before you begin installing Drupal on your Ubuntu server, it’s essential to ensure that your system meets the necessary requirements. In this section, we’ll outline the prerequisites and guide you through the process of updating your system and installing the Apache web server.
System Requirements
To install Drupal on Ubuntu, you’ll need:
- A server with Ubuntu 22.04 (or the latest version) as the operating system
- User privileges: root or non-root user with sudo privileges
Moreover, to ensure that your system packages are up-to-date, run the following command in your terminal:

This command will update the package index and upgrade all installed packages to the latest versions available.
Installing the Apache Web Server
Apache is a popular web server software that’s widely used for hosting websites. To install Apache on Ubuntu on your system server, execute the following command:
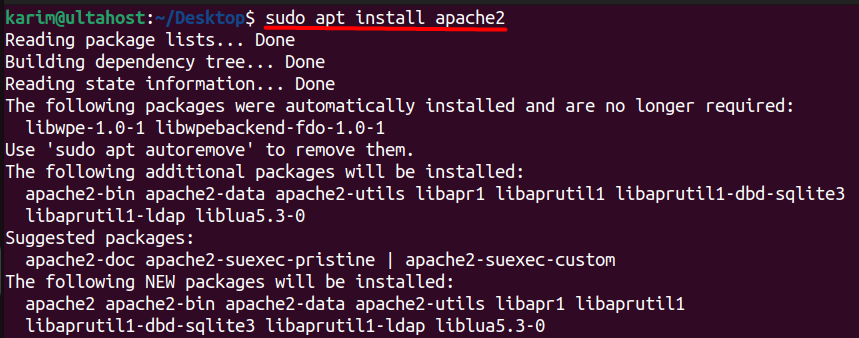
Once the installation is complete, start and enable the Apache service to ensure it runs automatically on system boot:

To verify that the Apache service is running, check its status with the following command:
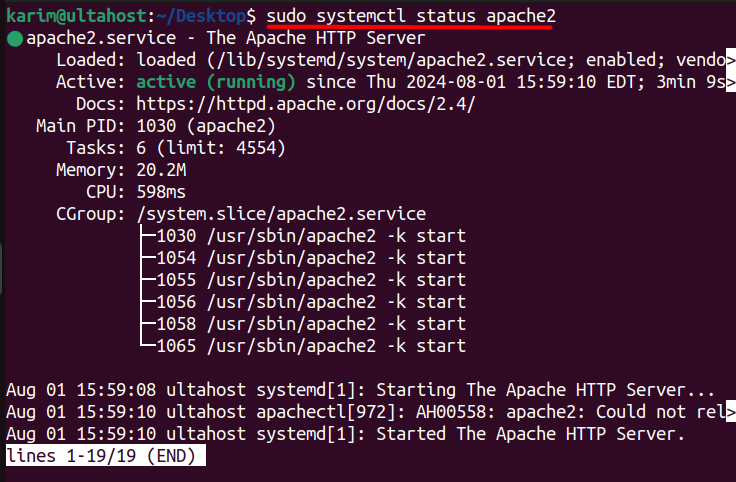
If the service is running correctly, you should see a message indicating that Apache is active and running.
Configuring the Firewall
By default, To enable a firewall on your Ubuntu system you can install UFW on Ubuntu system. An Uncomplicated Firewall is a user-friendly configuration tool. To allow incoming traffic on the default Apache port (80), run the following command:

This will allow incoming HTTP traffic, making your Apache server accessible from outside the local network.
Installing PHP and Database Dependencies for Drupal
In the previous section, we installed the Apache web server and configured the firewall to allow incoming traffic. Now, we’ll focus on installing the PHP and database dependencies required for Drupal.
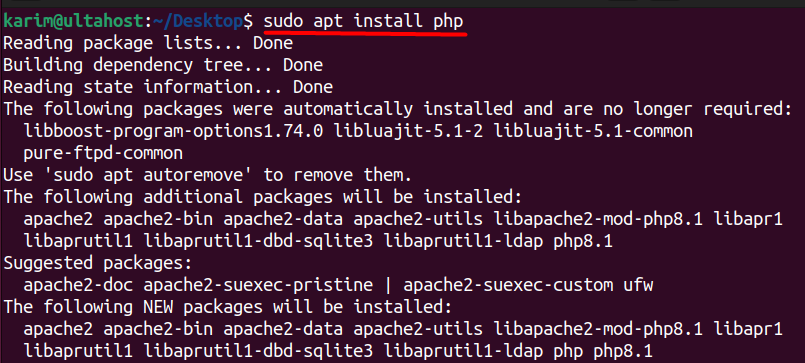
Drupal requires PHP to function correctly. To install PHP 8.1 with the necessary extensions, execute the following command:
Installing the MariaDB Database Server
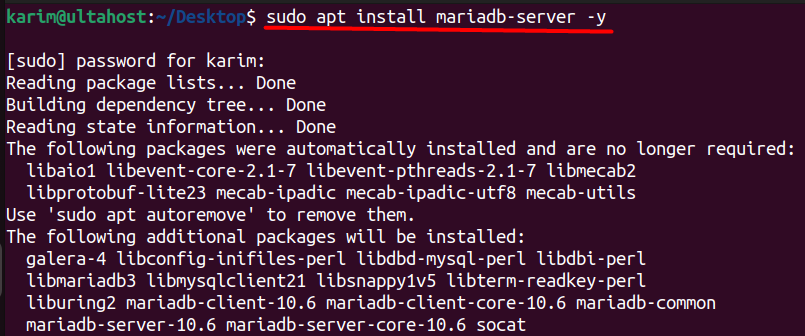
MariaDB is a popular open-source database management system that’s widely used for web applications. To install the MariaDB database server, execute the following command:
Since the installation is complete, start and enable the MariaDB service to ensure it runs automatically on system boot:

To verify that the MariaDB service is running, check its status with the following command:
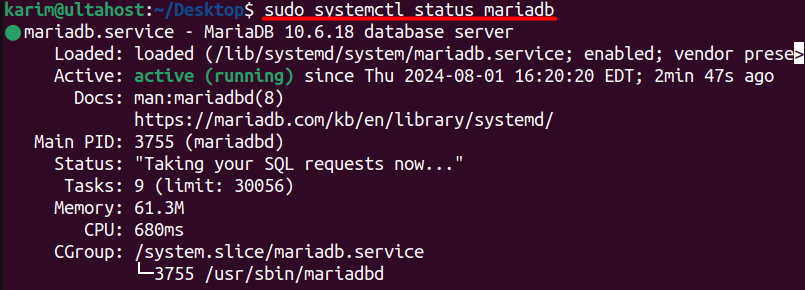
If the service is running correctly, you should see a message indicating that MariaDB is active and running.
Creating a Drupal Database and User
To create a Drupal database and user, you’ll need to access the MariaDB shell. You can do this by running the following command:
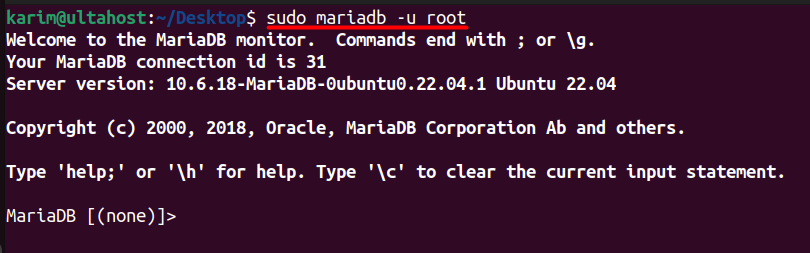
This will open the MariaDB shell, where you can execute the following commands to create a Drupal database and user:

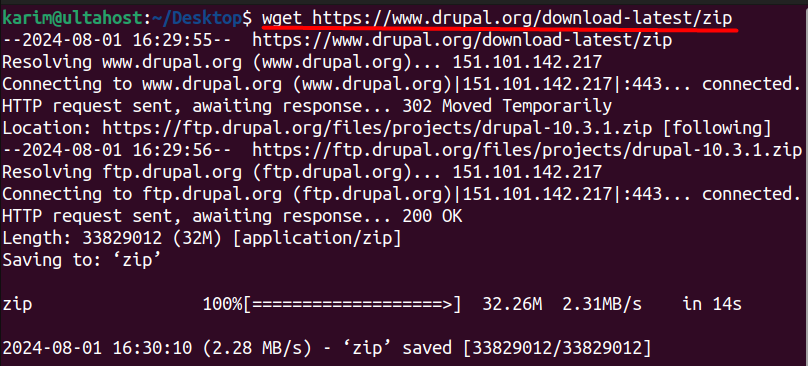
To download Drupal, navigate to the default Apache document root:

Replace your password with a strong password for the Drupal user.
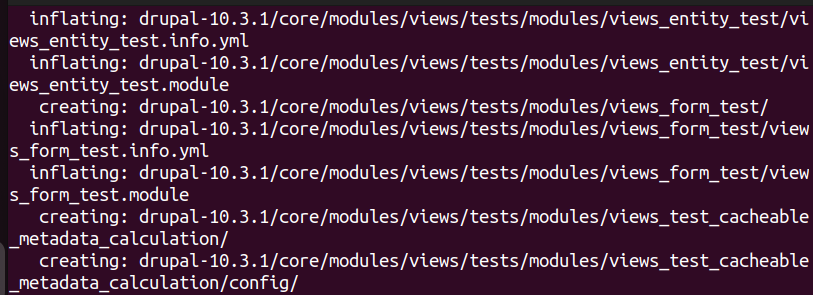
Next, unzip the downloaded file:
Move the extracted files to a new directory named Drupal:
To ensure that Drupal can write to the necessary files and folders, set the correct permissions:
This command sets the ownership of the drupal directory and all its contents to the www-data user and group.
Creating an Apache Virtual Host File
To create a virtual host file for Drupal, navigate to the Apache configuration directory:
Create a new file named drupal.conf:

Next, open the file and paste the following configuration:

Replace yourdomain.com with your actual domain name then save and close the file.
Enabling the Apache Configuration and Rewrite Module
To enable the Apache configuration for Drupal, run the following command:
Next, enable the Apache rewrite module:

Checking the Syntax and Restarting Apache
To check the syntax of the Apache configuration, run the following command:
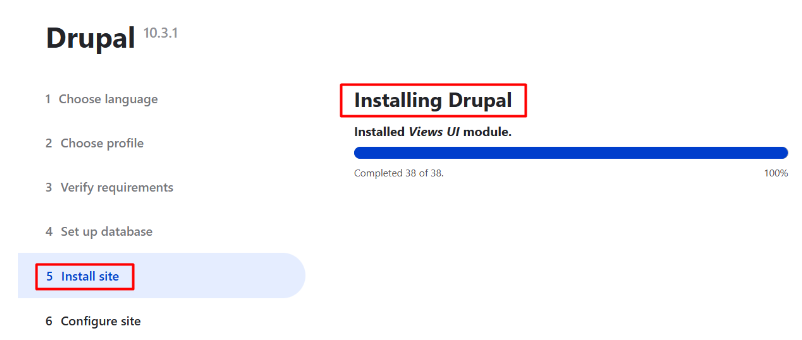
Completing the Drupal Installation
Once the Apache service is restarted, you can complete the Drupal installation by accessing http://yourdomain.com in your web browser. Follow the on-screen instructions to complete the installation:
Conclusion
In this article, we have provided a comprehensive guide on how to install Drupal on Ubuntu. The steps performed to install and set up Drupal on Ubuntu include installing the Apache web server, configuring the firewall, and installing PHP and database dependencies.
Next, we created a Drupal database and user, downloading and unzipping the Drupal installation files, creating an Apache virtual host file, enabling the Apache configuration and rewrite module, and restarting the Apache service.
Finally, we completed the Drupal installation by accessing the website in a web browser and following the on-screen instructions. By following these steps, you should now have a fully functional Drupal installation on your Ubuntu server, ready to be customized and developed into a robust and high-performance website.
See More Related Blog

Top Drupal SEO Modules to Boost Your Website Ranking
-
- by Mcs
We all know Drupal as this robust, flexible, and dependable CMS platform but not many realize its abilities when it comes to SEO. SEO can be one of the most influential…
Top 10 Must-Have Drupal 9 Modules for Every Project in 2025
-
- by Mcs
We get it. You want every single one of the amazing features you’ve heard about with Drupal 9. When you’re talking about features, you’re talking about modules. And…

How to Stop Spam in Drupal 8 Using CAPTCHA and reCAPTCHA
-
- by Mcs
The reCAPTCHA module in Drupal integrates the reCAPTCHA service from Google to help protect Drupal websites from spam and abuse by verifying if a user is human. It adds…
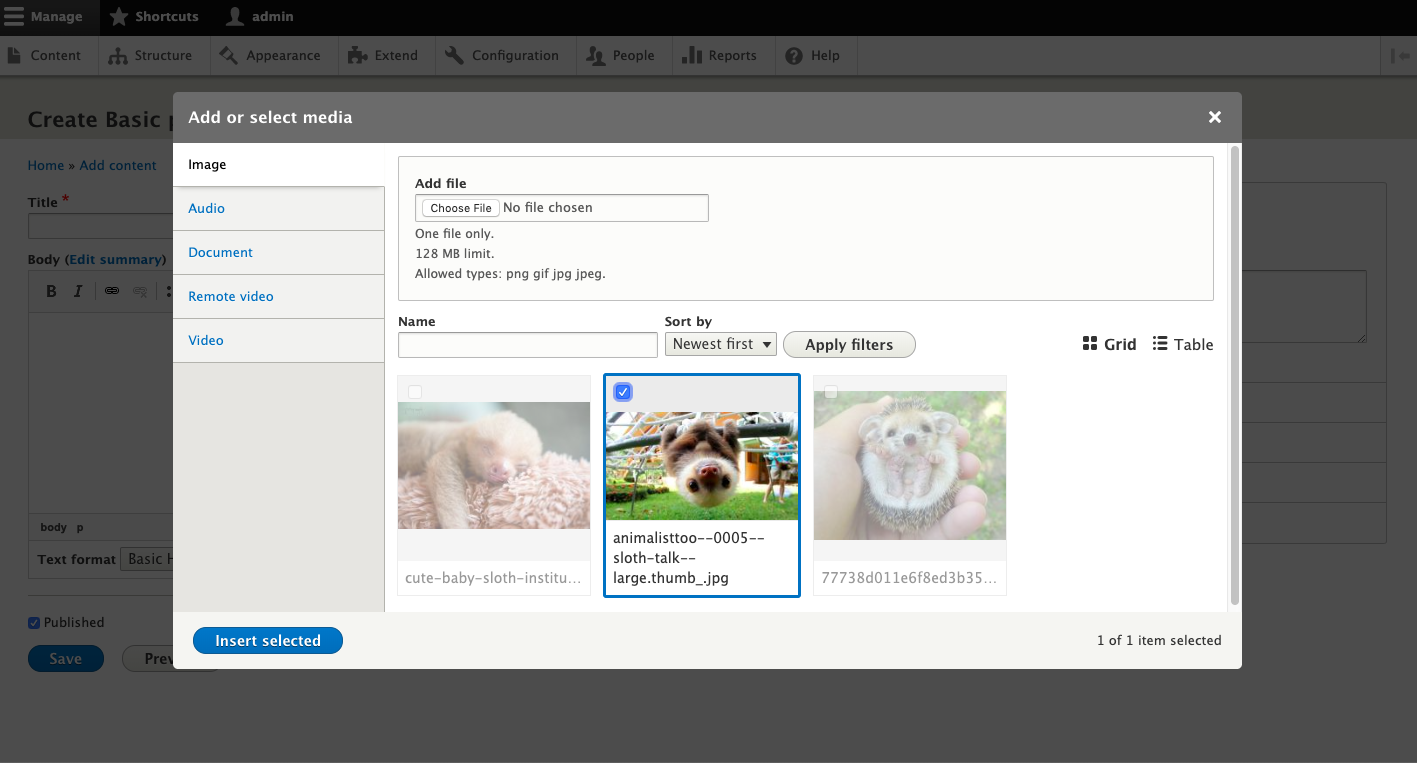
How to Use the Drupal Media Library: Step‑by‑Step Guide
-
- by Mcs
Media management is a core part of any modern website. Whether you're uploading images, videos, or PDFs, organizing them efficiently is key to maintaining a smooth…
Drupal 7 vs Drupal 8
-
- by Mcs
If you’ve been running a site on Drupal 7 for a while, you’ve likely heard the buzz about Drupal 8—and maybe you’re wondering whether it’s worth the upgrade. In this…
what is composer in drupal?
-
- by Mcs
In Drupal, Composer is a dependency management tool used to manage PHP packages and libraries, including Drupal core, modules, themes, and external libraries.
Drupal Paragraphs Module: Complete Beginner’s Guide (2025)
-
- by Mcs
Paragraphs is a new way of content creation. It allows the site builders to make things cleaner and can give more editing power to the end-users.

How to Configure SMTP in Drupal (Step-by-Step Guide)
-
- by Mcs
To configure SMTP (Simple Mail Transfer Protocol) in Drupal, you'll typically use a module to route outgoing emails through an external mail server like Gmail,…

difference between use and namespace in drupal
-
- by Mcs
In Drupal, namespaces organize classes into logical groupings to avoid naming conflicts, while the use keyword provides aliases for those namespaces, allowing for…

What is FormBase in Drupal?
-
- by Mcs
In Drupal, FormBase is an abstract base class provided by the Drupal Form API. It serves as a starting point for building custom forms.
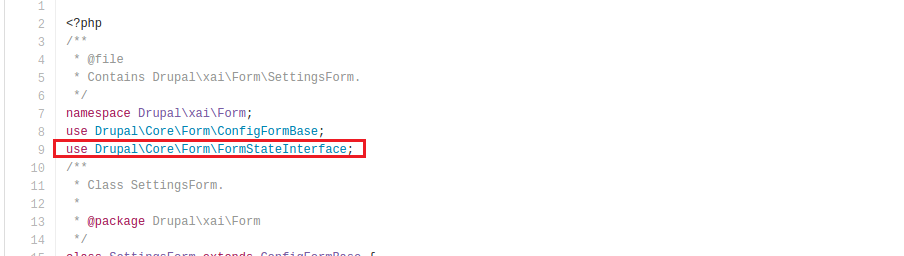
What is FormStateInterface in Drupal?
-
- by Mcs
In Drupal, FormStateInterface is a vital interface that provides access to the current state of a form, allowing developers to interact with form data, errors, and other…

How to Create a Custom Block in Drupal
-
- by Mcs
A custom block is a reusable content container that you define in code. It lets you display custom messages, HTML, or dynamic content in regions (like sidebars or…
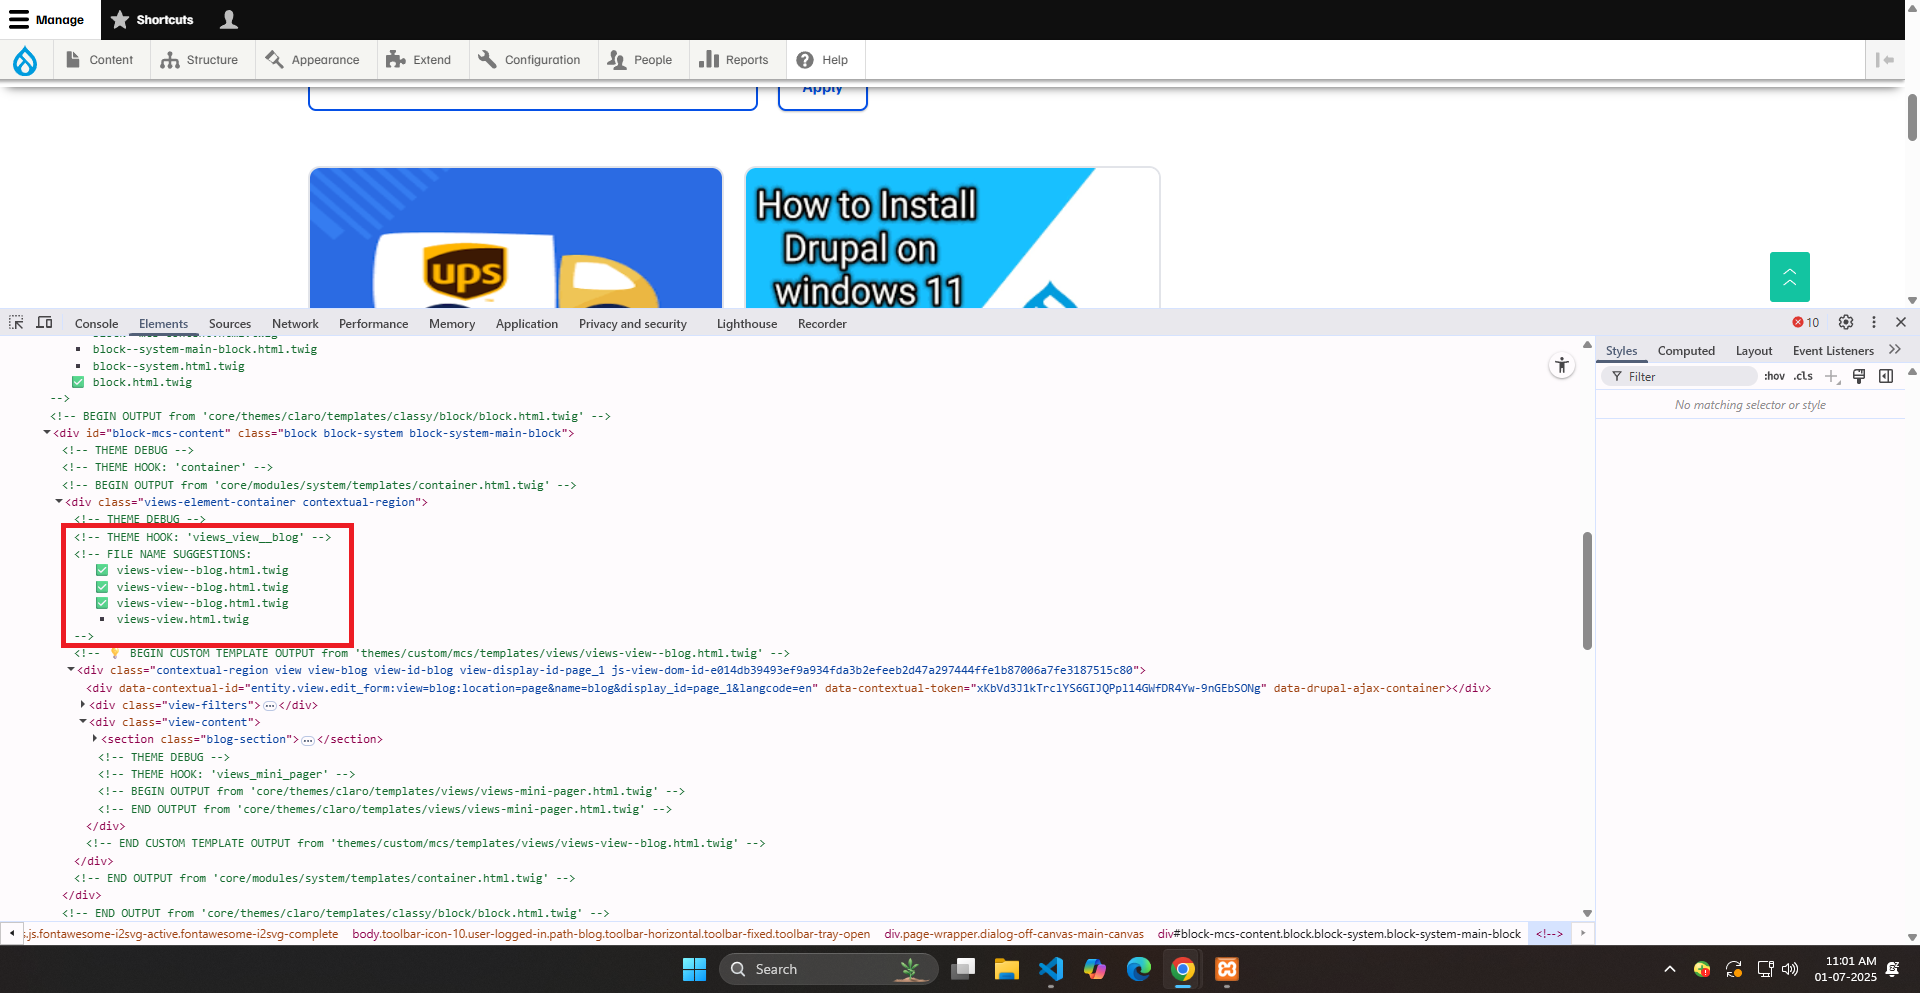
Drupal Custom Theme Suggestions for Views Explained (With Code Example)
-
- by Mcs
In Drupal, Views are a powerful way to display dynamic content, but sometimes the default theming just isn’t enough. If you need more control over how each view or…
What is Drush?
-
- by Mcs
Drush, short for Drupal Shell, is a command-line utility and scripting interface for Drupal. It allows users to interact with and manage Drupal websites from the…

How to Create a Custom Module in Drupal
-
- by Mcs
Creating a custom module in Drupal is essential when you need functionality that is not available through core or contributed modules. Here's a breakdown of why and…
diffrence between wordpress and drupal
-
- by Mcs
Drupal and WordPress are both popular open-source content management systems (CMS), but they differ significantly in their target audience and complexity

How to Create Custom Form in Drupal
-
- by Mcs
As you know, forms are a crucial part of every website because they allow users to interact with them by submitting data. Using Drupal's Form API, developers can…

The Drupal 9 Webform Module
-
- by Mcs
The Webform module is a powerful and flexible Open Source form builder and submission manager for Drupal 9. The Webform module for Drupal provides all the features…

How to Create a Custom Drupal 9 Theme
-
- by Mcs
Drupal gives developers and site owners the flexibility of creating bespoke components that can be put together to build compelling digital experiences. Themes are…

How To Install Drupal In Windows
-
- by Mcs
Drupal is a powerful tool for creating and managing online content. As a popular open-source content management system (CMS), it offers a flexible and scalable solution…
We specialize in creating bespoke Drupal websites that are both functional and visually stunning. Our team experienced developers, designers, and strategists works collaboratively to ensure every project meets our high standards of quality and performance.


![]()


@ Mcs. All rights reserved
Comments
Add new comment