
How to Create a Custom Module in Drupal
-

- by Mcs June 30, 2025
There are thousands of Drupal core and contributed modules to choose from, so why would anyone still want to build custom modules? The majority of the time it’s because website builders are looking for customized features to achieve specific functionalities or to stand out from the competition. For components that aren’t commonplace, a contributed or a core module does not always meet exact requirements. That’s when custom module development comes into play.
Drupal Custom Module Development in 5 easy steps
Here are some essential steps you need to follow to get started with creating a custom module in Drupal.
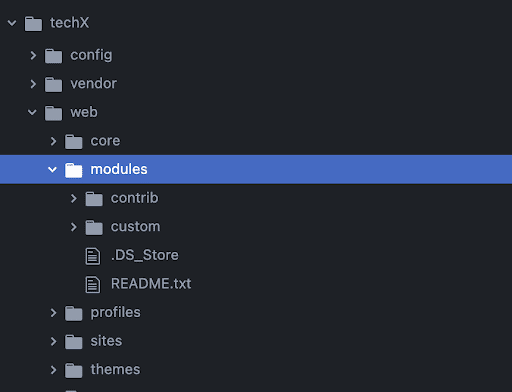
Step 1: Create a custom folder for your module
Step 2: Choose a short name or machine name for your module
Some important rules to follow before you choose a name for your module:
- It must start with a letter.
- It must contain only lowercase letters, digits, and underscores.
- It must not contain any spaces.
- It must not be longer than 50 characters.
- It must be unique. Your module should not have the same short name as any other module, theme, theme engine, or installation profile you will use on the site.
- It should not be any of the reserved terms: src, lib, vendor, assets, CSS, files, images, js, misc, templates, includes, fixtures, or Drupal.
Let's name it: “hello_module”.
Step 3: Create a .info.yml file
Your .info.yml file holds the module information, compatibility, and dependencies information. The .info.yml file is created to notify Drupal about its existence in the system and provide information for the Drupal Web UI administration pages.
Our file name: hello_module.info.yml
name: Hello Module
type: module
description: 'First custom drupal module'
package: custom
core_version_requirement: ^9 || ^10
The .info.yml file comprises 3 things: key, separator, value.
Where the key is the name, the separator is ‘:’ (colon) and the value is “Hello Module”.
Step 4: Create a Controller
Controllers are responsible for controlling the flow of the application and its logic. Controllers process user requests and determine the appropriate course of action. They can perform one or more actions and return different results to a particular request. The controller in our module is responsible for generating the body and sending it back to the page.
Now let’s create a file in a folder structured as /src/Controller/WelcomeController.php.
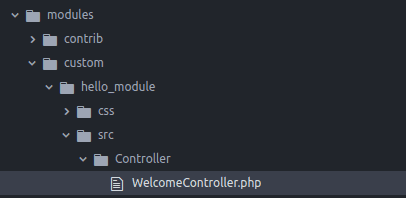
Our file name: WelcomeController.php
<?php
namespace Drupal\hello_module\Controller;
class WelcomeController {
public function welcome() {
$body = "Lorem Ipsum has been the industry's standard dummy text ever since the 1500s,
when an unknown printer took a galley of type and scrambled it to make a type specimen book.
It has survived not only five centuries, but also the leap into electronic typesetting,
remaining essentially unchanged. It was popularized in the 1960s with the release of Letraset
sheets containing Lorem Ipsum passages, and more recently with desktop publishing software
like Aldus PageMaker including versions of Lorem Ipsum.";
return [
'#markup => $body
];
}
}
Step 5: Create a routing.yml file:
A route specifies the code that should be executed to generate the response when a URI is requested.
The .routing.yml file is created to define routes. Each route is defined as a machine name in the form of my_module_name.route_name (for example hello_module.welcome)
hello_module.welcome:
path: '/welcome'
defaults:
_controller: 'Drupal\hello_module\Controller\WelcomeController::welcome'
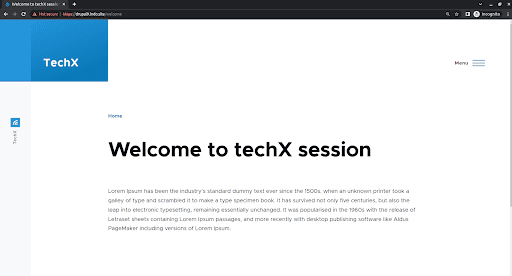
_title: 'Welcome to techX session'
requirements:
_permission: 'access content'
This is how our overall hello_module module structure looks like:
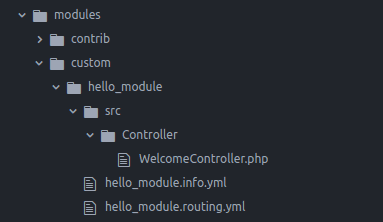
Finally, visiting /welcome will call the Controller that you created and will display the body with the title.
Result:
See More Related Blog

Top Drupal SEO Modules to Boost Your Website Ranking
-
- by Mcs
We all know Drupal as this robust, flexible, and dependable CMS platform but not many realize its abilities when it comes to SEO. SEO can be one of the most influential…
Top 10 Must-Have Drupal 9 Modules for Every Project in 2025
-
- by Mcs
We get it. You want every single one of the amazing features you’ve heard about with Drupal 9. When you’re talking about features, you’re talking about modules. And…

How to Stop Spam in Drupal 8 Using CAPTCHA and reCAPTCHA
-
- by Mcs
The reCAPTCHA module in Drupal integrates the reCAPTCHA service from Google to help protect Drupal websites from spam and abuse by verifying if a user is human. It adds…
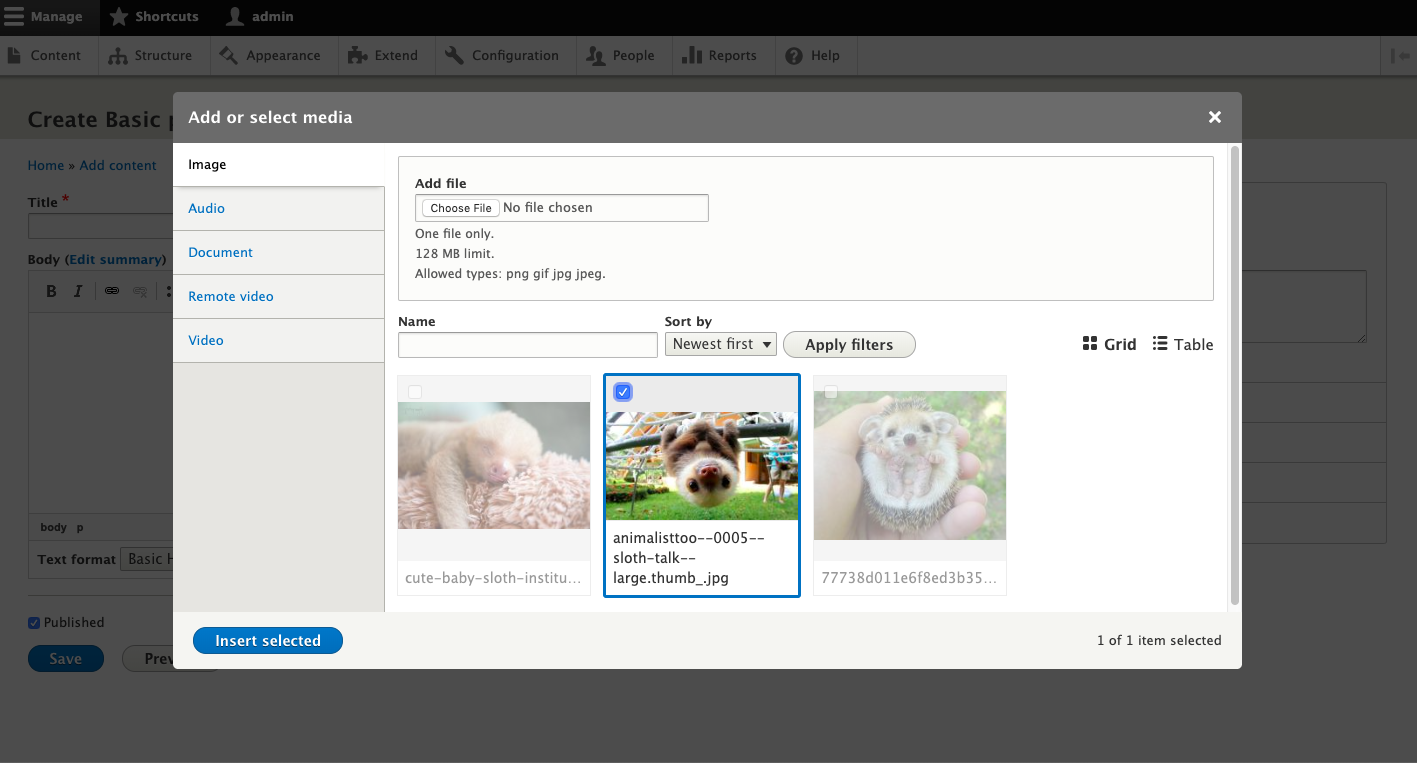
How to Use the Drupal Media Library: Step‑by‑Step Guide
-
- by Mcs
Media management is a core part of any modern website. Whether you're uploading images, videos, or PDFs, organizing them efficiently is key to maintaining a smooth…
Drupal 7 vs Drupal 8
-
- by Mcs
If you’ve been running a site on Drupal 7 for a while, you’ve likely heard the buzz about Drupal 8—and maybe you’re wondering whether it’s worth the upgrade. In this…
what is composer in drupal?
-
- by Mcs
In Drupal, Composer is a dependency management tool used to manage PHP packages and libraries, including Drupal core, modules, themes, and external libraries.
Drupal Paragraphs Module: Complete Beginner’s Guide (2025)
-
- by Mcs
Paragraphs is a new way of content creation. It allows the site builders to make things cleaner and can give more editing power to the end-users.

How to Configure SMTP in Drupal (Step-by-Step Guide)
-
- by Mcs
To configure SMTP (Simple Mail Transfer Protocol) in Drupal, you'll typically use a module to route outgoing emails through an external mail server like Gmail,…
difference between use and namespace in drupal
-
- by Mcs
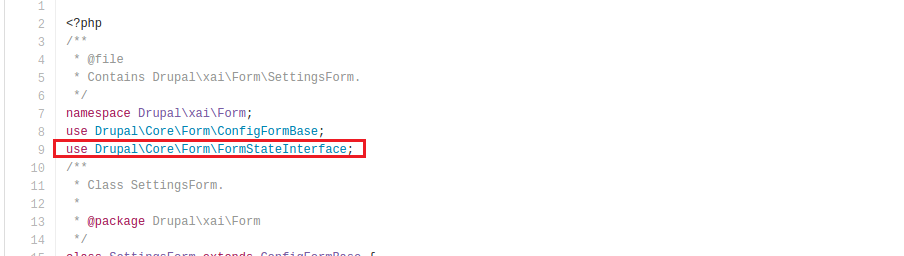
In Drupal, namespaces organize classes into logical groupings to avoid naming conflicts, while the use keyword provides aliases for those namespaces, allowing for…

What is FormBase in Drupal?
-
- by Mcs
In Drupal, FormBase is an abstract base class provided by the Drupal Form API. It serves as a starting point for building custom forms.
What is FormStateInterface in Drupal?
-
- by Mcs
In Drupal, FormStateInterface is a vital interface that provides access to the current state of a form, allowing developers to interact with form data, errors, and other…
How to Create a Custom Block in Drupal
-
- by Mcs
A custom block is a reusable content container that you define in code. It lets you display custom messages, HTML, or dynamic content in regions (like sidebars or…
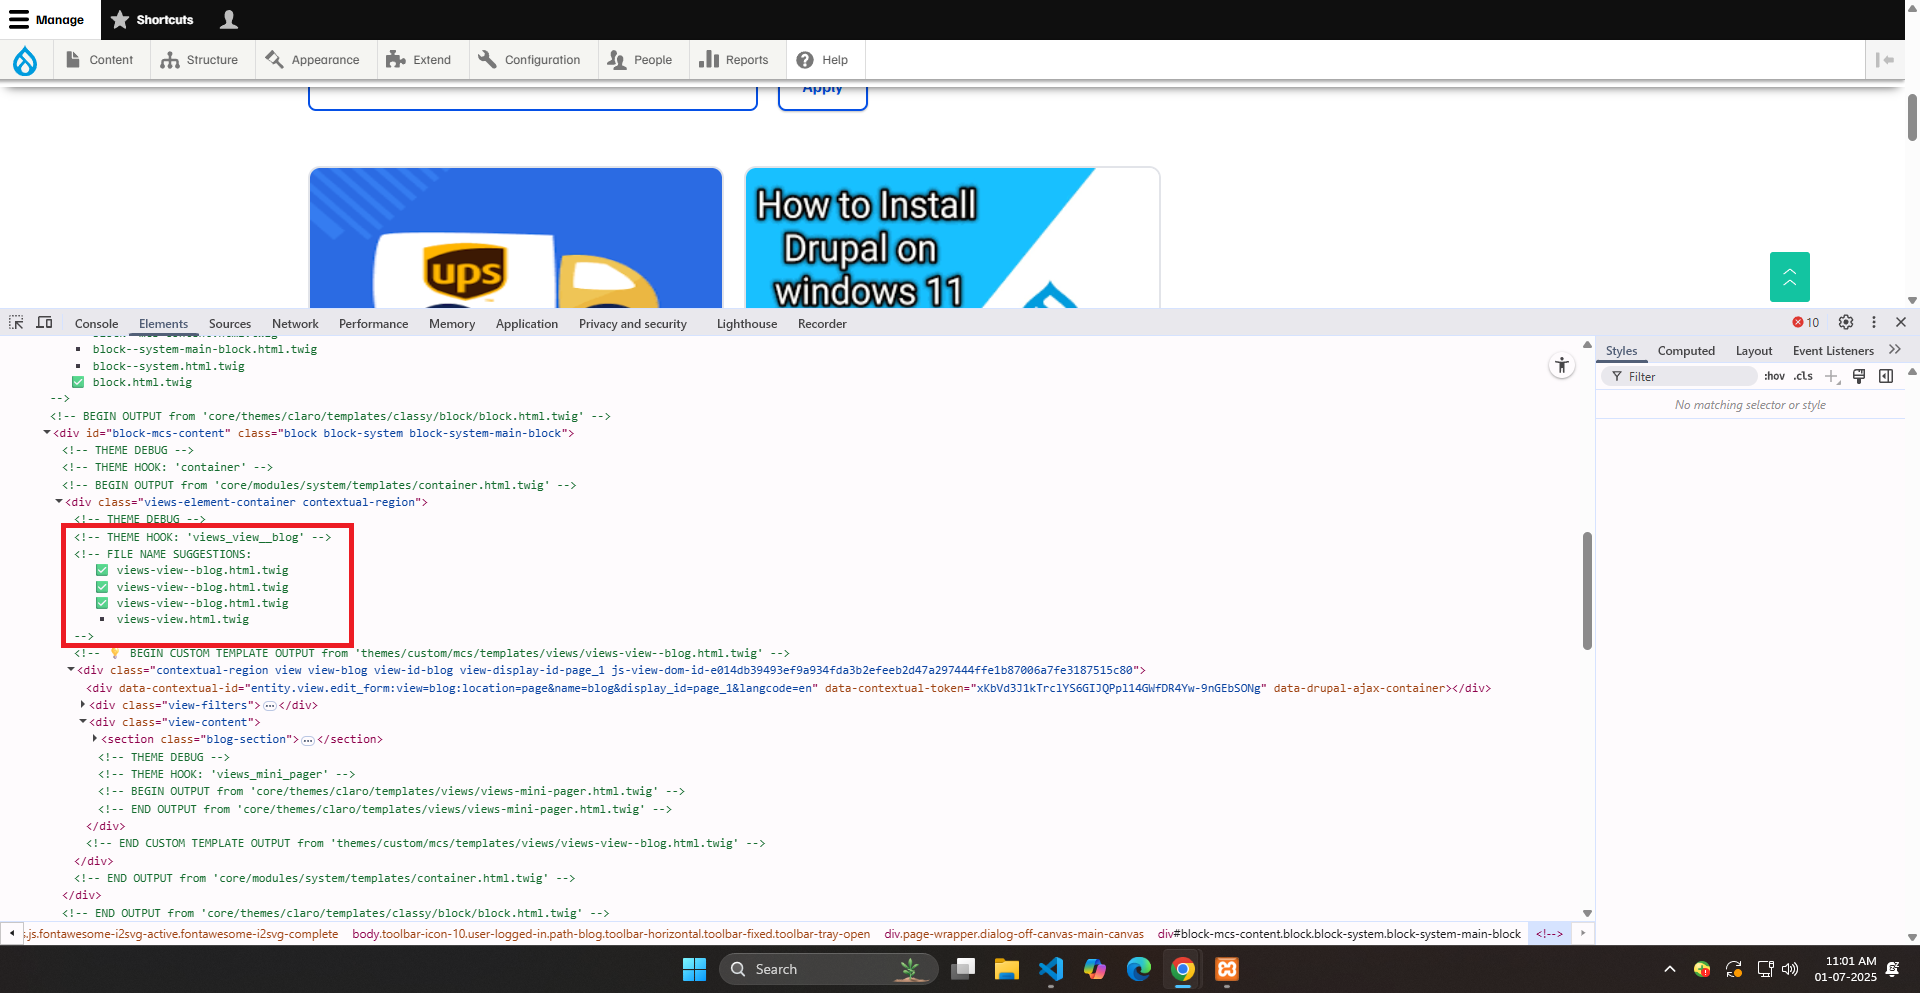
Drupal Custom Theme Suggestions for Views Explained (With Code Example)
-
- by Mcs
In Drupal, Views are a powerful way to display dynamic content, but sometimes the default theming just isn’t enough. If you need more control over how each view or…

What is Drush?
-
- by Mcs
Drush, short for Drupal Shell, is a command-line utility and scripting interface for Drupal. It allows users to interact with and manage Drupal websites from the…
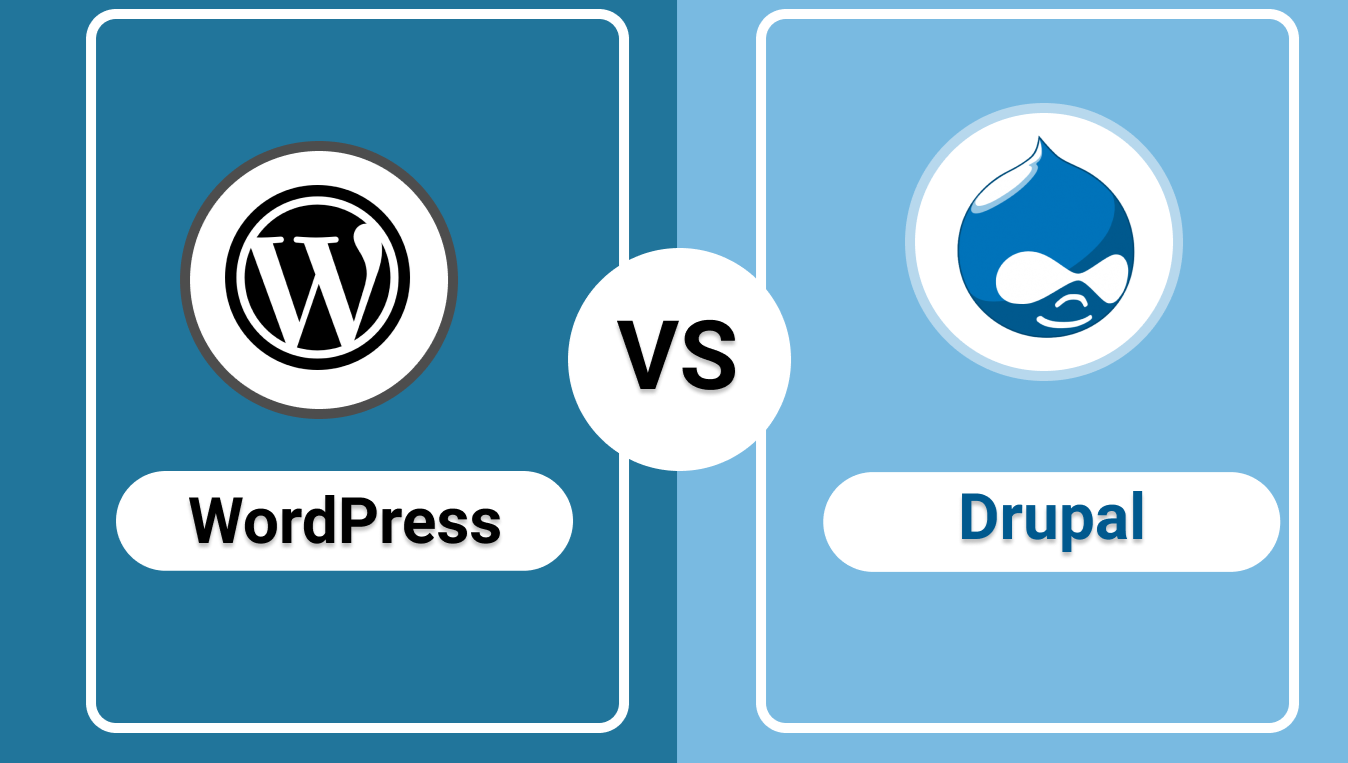
diffrence between wordpress and drupal
-
- by Mcs
Drupal and WordPress are both popular open-source content management systems (CMS), but they differ significantly in their target audience and complexity

How to Create Custom Form in Drupal
-
- by Mcs
As you know, forms are a crucial part of every website because they allow users to interact with them by submitting data. Using Drupal's Form API, developers can…

The Drupal 9 Webform Module
-
- by Mcs
The Webform module is a powerful and flexible Open Source form builder and submission manager for Drupal 9. The Webform module for Drupal provides all the features…

How to Create a Custom Drupal 9 Theme
-
- by Mcs
Drupal gives developers and site owners the flexibility of creating bespoke components that can be put together to build compelling digital experiences. Themes are…

How to Install Drupal on Ubuntu
-
- by Mcs
Drupal is a free and open-source content management framework (CMF) and content management system (CMS) written in PHP. It is known for its flexibility, scalability, and…

How To Install Drupal In Windows
-
- by Mcs
Drupal is a powerful tool for creating and managing online content. As a popular open-source content management system (CMS), it offers a flexible and scalable solution…
We specialize in creating bespoke Drupal websites that are both functional and visually stunning. Our team experienced developers, designers, and strategists works collaboratively to ensure every project meets our high standards of quality and performance.


![]()


@ Mcs. All rights reserved
Comments
Add new comment